- 10% OFF WITH CODE "WEBSITE10"
- 10% OFF WITH CODE "WEBSITE10"
- 10% OFF WITH CODE "WEBSITE10"
- 10% OFF WITH CODE "WEBSITE10"
- 10% OFF WITH CODE "WEBSITE10"
- 10% OFF WITH CODE "WEBSITE10"
- 10% OFF WITH CODE "WEBSITE10"
- 10% OFF WITH CODE "WEBSITE10"
- 10% OFF WITH CODE "WEBSITE10"
- 10% OFF WITH CODE "WEBSITE10"
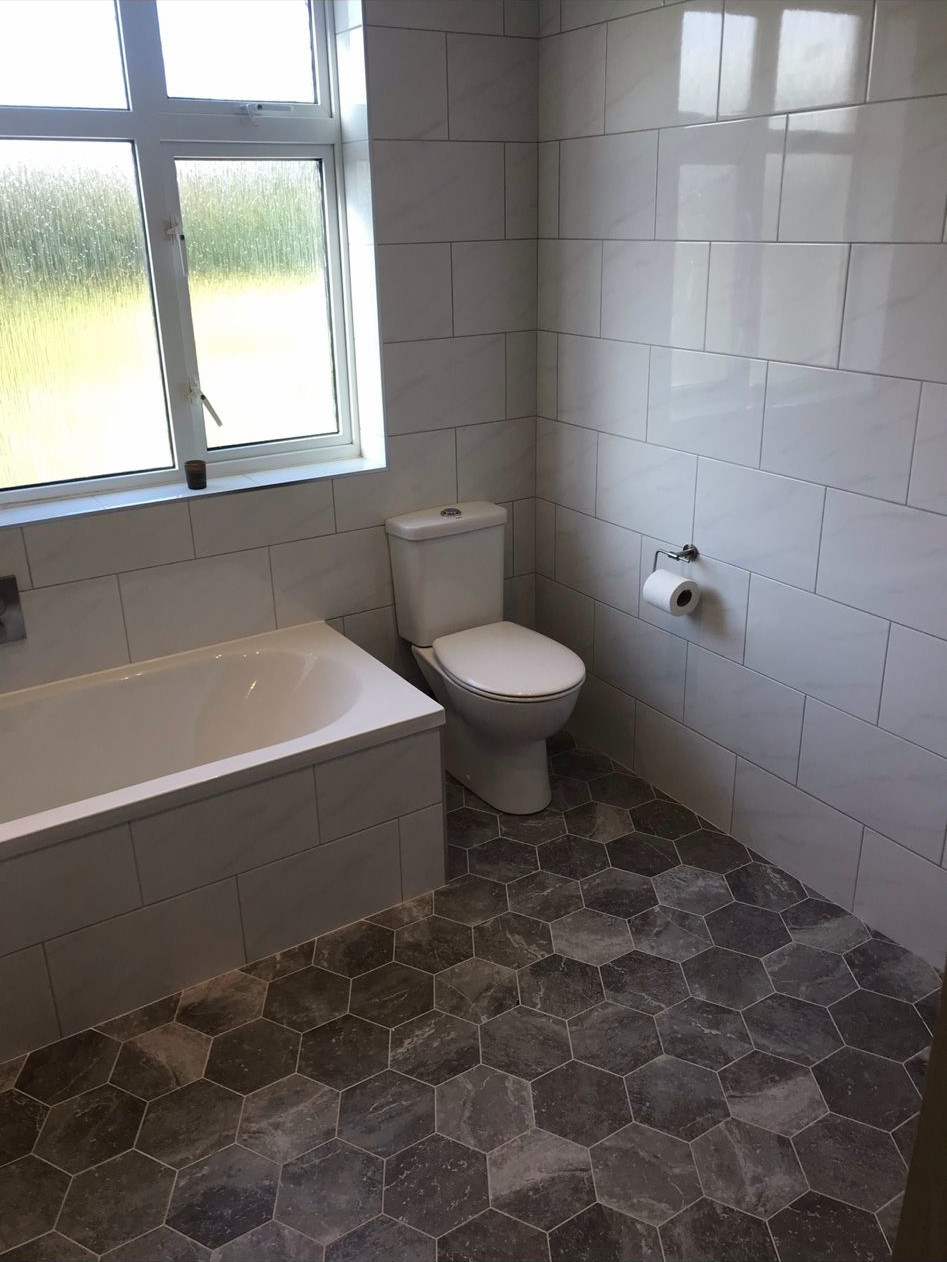
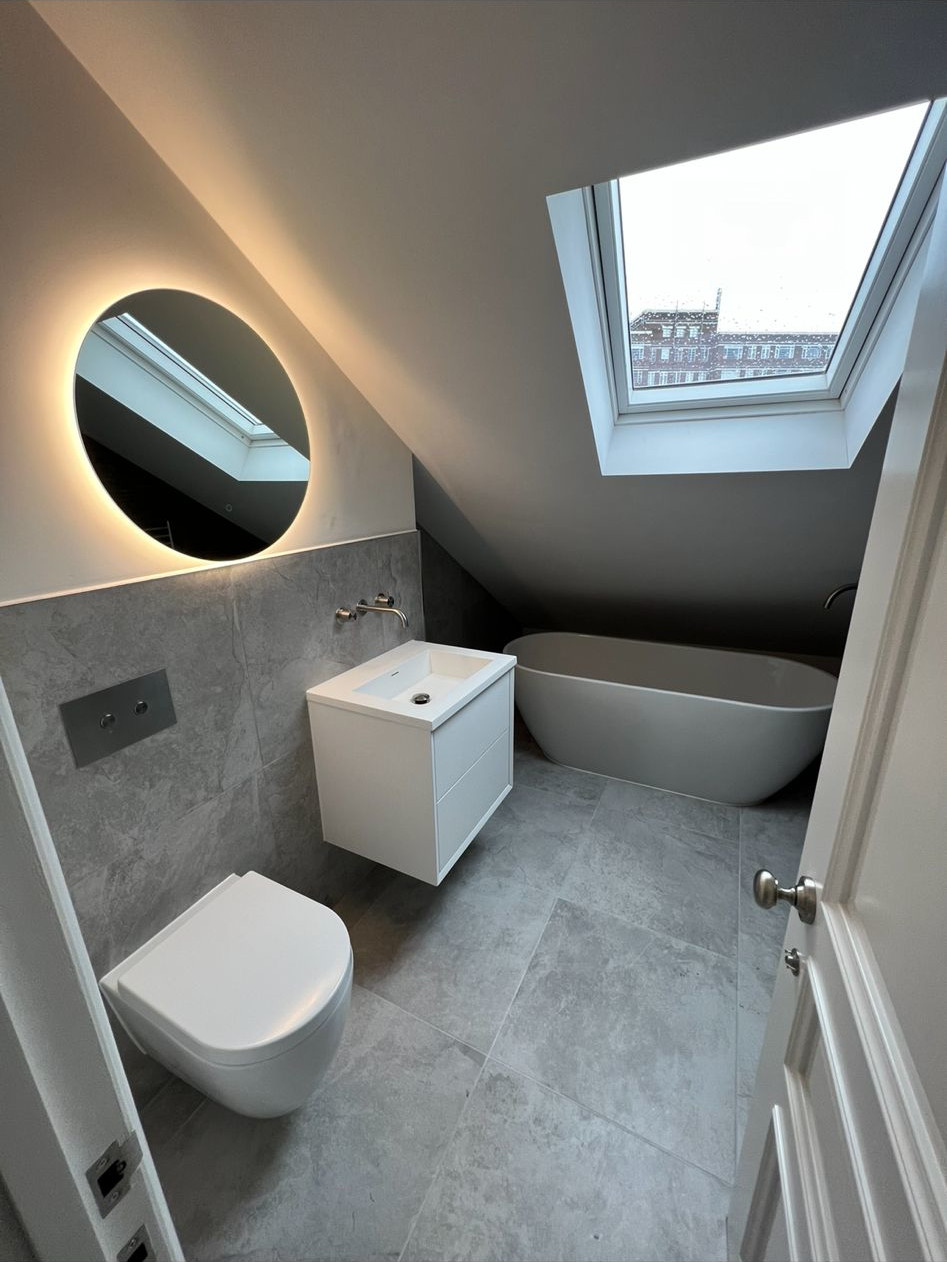
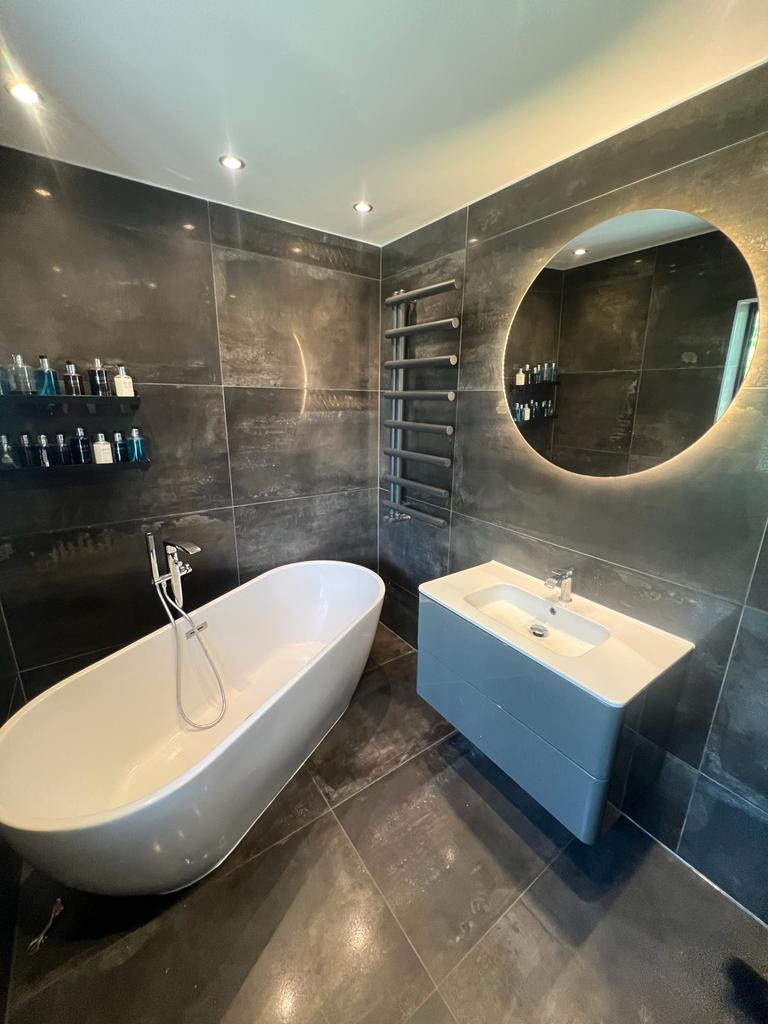
Bathroom Installation
Here at Angel Assist we help design, maintain & install bathrooms of all sizes. Maybe the current bathroom you have could do with an update of even just a little bit of TLC.

Bathroom Installation Quote
We attend the property in person to understand the layout & take down some measurements and vital information regarding the bathroom. We can then provide a competitive estimate for the works required.
How Long Does it Take?
A Bathroom normally takes around 1-3 weeks start to finish. For example, if a bathroom has been designed with a more technical specification & layout, labour times increase. However, if the bathroom design is of a similar layout & spec compared to the previous suite, the duration of the works is likely to reduce. These are the steps involved:
Step 1
Removal of the old bathroom suite: isolate & drain down water supplies. Remove the existing bath/shower, basin, toilet, towel rail.
Step 2
Removal of existing tiles: removing tiles is probably the messiest part of the job as the existing wall plaster can also fall off the walls.
Step 3
Electrical works: new switches, lighting, underfloor heating, thermostats and extractor fans cables will be extended to their correct positions. All cables will be chased into walls where necessary.
Step 4
1st fix Plumbing: new pipework may be required dependent on the new bathroom layout, specifications, and fixtures & fittings. Pipes will be chased into walls where necessary to suit the new sanitary-ware.
Step 5
Bonding & plastering: now the 1st fix plumbing & electrics are complete the wall will be prepped, chases will be filled and plastering will take place before tiling commences.
Step 6
Painting & decorating: this would be the perfect time for paintwork as there would be a clean, empty space with all walls prepped.
Step 7
Tiling: tiles will be laid on the floors & walls leaving the room looking more like a bathroom. At this point the bathroom really starts coming together and the walls are grouted for a watertight finish.
Step 8
Installing the suite: once tiling is complete we will install the new bathroom suite, fixtures & fittings. All works will be tested for correct operation.
Step 9
2nd fix Electrics: installing the spot lights, extractor fan & switches. All works to be check and tested for correct operation.
Step 10
Mastic work & quality check: the final step is to apply a silicone sealant around the bathroom to ensure watertight finish & a final quality check of the whole installation.